|
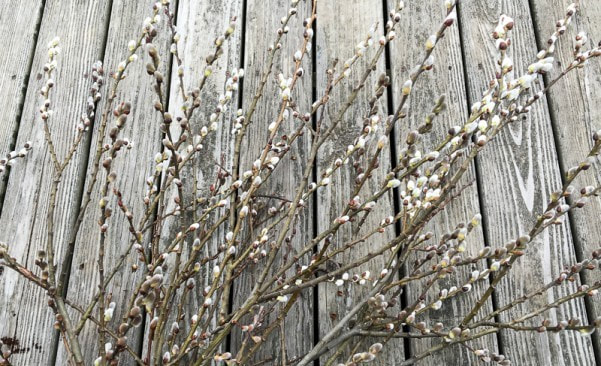
3/29/2018 0 Comments Forcing Branches IndoorsWe all are getting a little antsy by now to see signs of spring. For those of us who can’t wait any longer, there is a way to hasten spring’s arrival. Get your pruners ready and read on. Many flowering trees and shrubs set their flower buds last season. By now they have had their required period of cold temperatures and can be forced out of dormancy. On a mild day, head outside with your pruners and select a few branches to force indoors. Stems that are less than ½” in diameter work best. The most common and easiest branches to force are those of the yellow-blooming Forsythia. Select branches near the top of the shrub for best flowering. In addition, try forcing branches from these trees and shrubs for beautiful blossoms: Saucer Magnolia Fothergilla Quince Lilac Serviceberry Here’s how to force them: prepare a bucket of warm water (about 100 degrees). Adding floral preservative will help stems stay hydrated longer and keep the water clean. Set the bucket aside. Fill a sink with hot water. Place stems in the sink and recut at an angle while holding under water. Immediately place stems in the bucket. Keep the stems cool (45-55 degrees) for a week or two, changing the water each week. When the first buds begin to show, create an arrangement and place where you can enjoy. A few more tips: You may need to crush or split the ends of larger branches to increase the surface area available to take up water. If the branches you try to force don’t work, it may be too early. Try again in a couple weeks. Misting the branches frequently can help them last longer in a vase. Cut fresh branches every week until spring arrives and experiment with other trees and shrubs in your yard. Forced dogwood leaves and birch catkins can also be very pretty. Tracy Hankwitz Burlington Garden Center General Manager
0 Comments
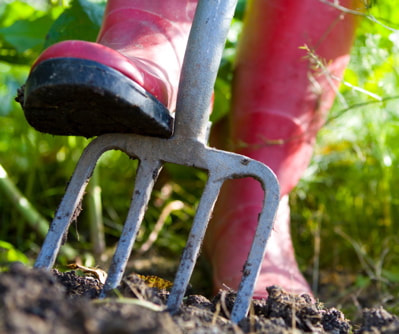
3/6/2018 0 Comments Cultivating the SoilEver since fourth grade, Frances Hodgson Burnett's 'The Secret Garden' has been a favorite of mine. One of the quotes that has stuck with me well into adulthood is when a very timid Mary asks her guardian, Mr. Craven, 'Might I have a bit of earth?" But only as of late have I noticed his response: “When you see a bit of earth you want,. . . take it, child, and make it come alive.” The Soil & it’s Amendments
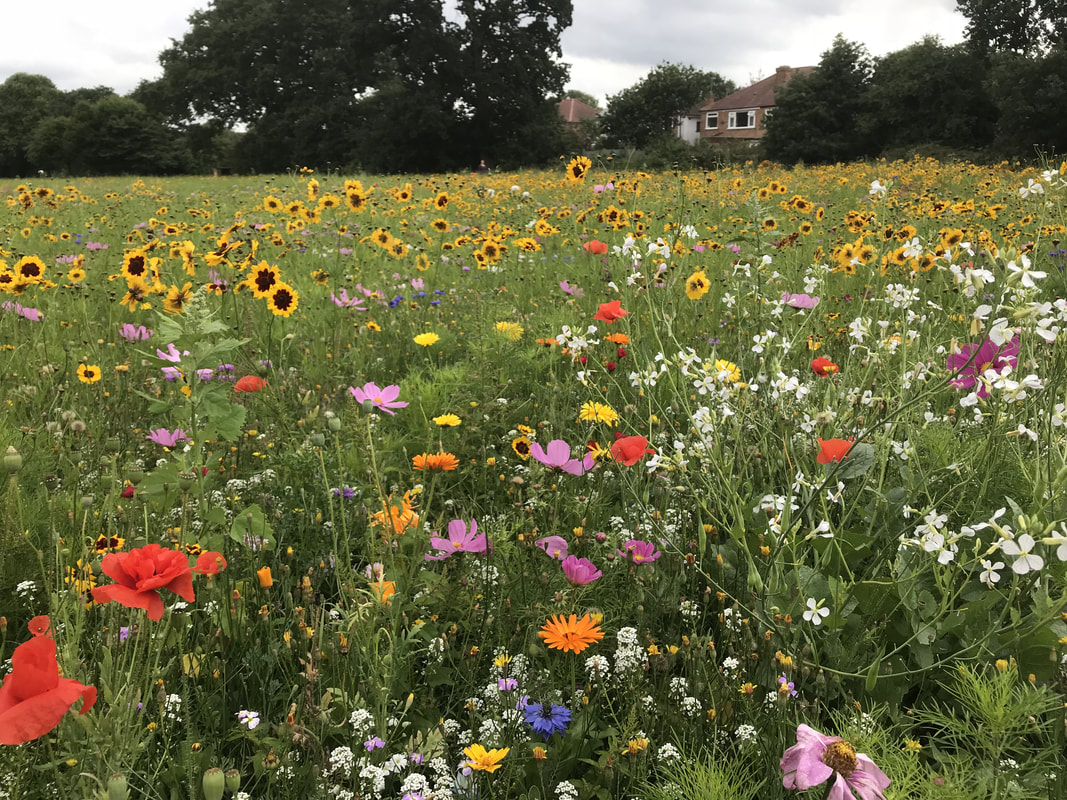
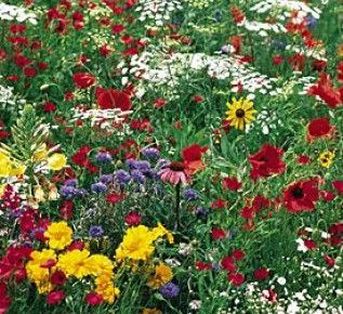
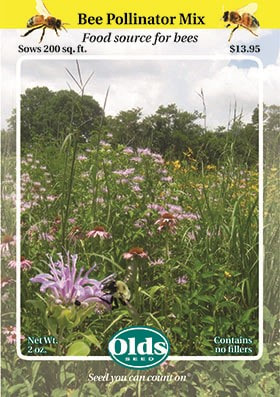
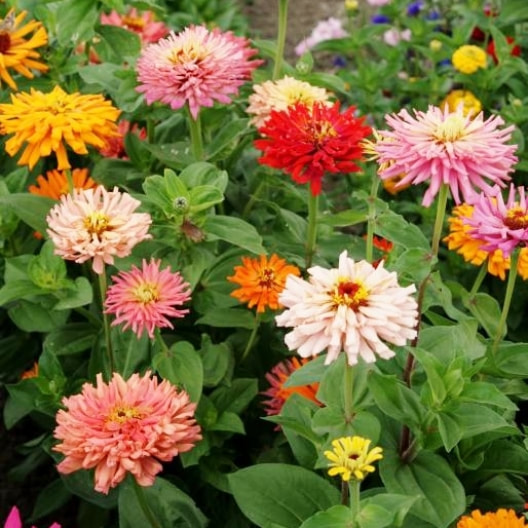
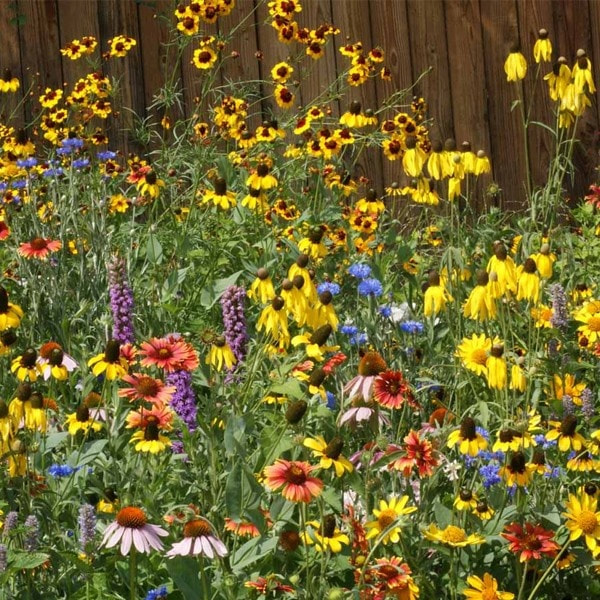
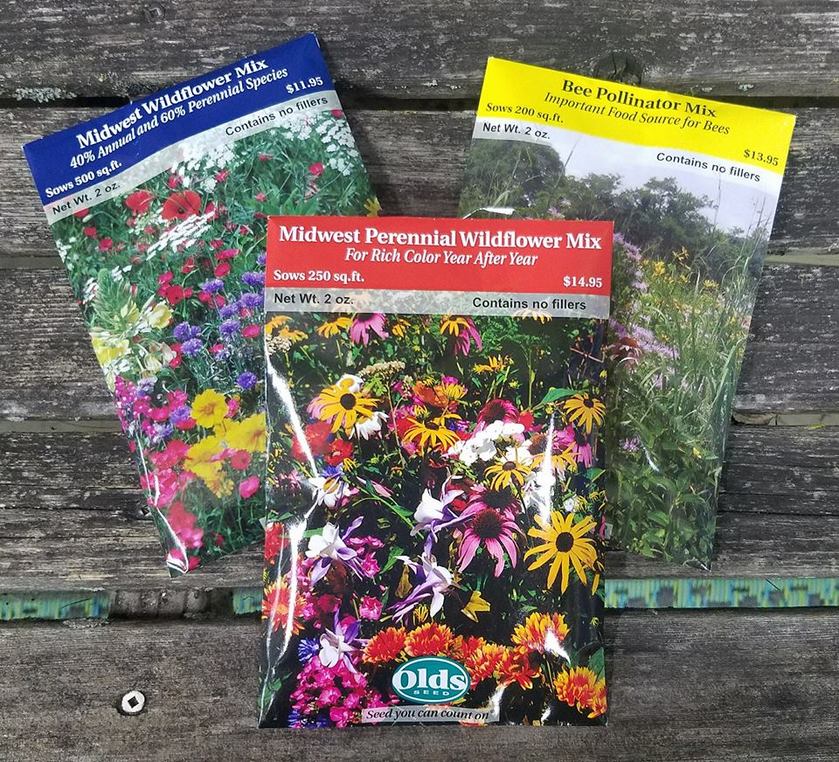
‘I find that a real gardener is not one who cultivates flowers; but one who cultivates the soil.’ Karel Kapek When to Work the Soil & When to Plant One of the easiest ways to know when the soil is ready to be worked is by doing the simple ball test: form a ball of soil in your hand, then press your thumb into it. If it breaks apart, the soil is ready to be worked. If the ball of soil does not break apart, the soil is too wet, so waiting a little long is best. Another common mistake among anxious gardeners is to plant before the soil is warm enough. Some seeds will germinate in soil temperatures of 60 degrees (like peas). Other seeds, like pumpkin and squash, need warmer soil temperatures of 80 degrees to germinate. The best way to know when the soil is warm enough is to use a soil thermometer - it takes the guesswork out . A soil temperature chart is also helpful as it lists crops and their optimal temperature ranges for germination. Click here for your free chart! Soil Amendments Soil pH is probably the most important factor in how well a plant will grow. If the pH is out of wack, then plant roots are unable to break down nutrients in the soil and make them available for the plant to absorb. Our soils in southeastern Wisconsin are naturally alkaline, so adding lime to the soil before planting is not necessary. Most likely soil will need to be amended with sulfur or peat moss in order to lower the pH, but rather than guess how much, a simple soil test should be done. You can do this yourself with a pH tester available here at Burlington Garden Center. If you want a more exact analysis, then a soil test can be taken and mailed away and analyzed for a cost. Ask us for information and a free envelope if you want to pursue this. How to achieve the best soil? Once you know that the pH is in line with the crop you are growing, the next best thing you can do is feed the soil. By feeding the soil, in essence, you are feeding your plants. In fact, by adding organic matter, your soil becomes more alive with microbes that break down nitrogen - which is necessary in order for plants to use it and grow healthy green leaves. Adding organic material in the form of compost is the best way to feed the soil. If you have a compost pile, add compost to the soil in the fall or in the early spring. If you don't make your own compost, then here are a few we recommend: Leaf compost (nature's black gold) Nature's Blend w/Alfalfa & Humates (a wonderful mix of cottonburr compost, cow manure, alfalfa, and humates) Mushroom compost (use every 3 years to avoid a build up of salts) Chicken or cow manure (aged for a year is best) Cotton burr compost (not only is this a great soil amendment, but many gardeners use it as a mulch around their perennials) Worm Castings (are another good source of microbial activity) All of the above amendments are available here at BGC. Remember, healthy plants begin with healthy soil. Let us know how we can help you make this year your best year growing in the garden. And in the spirit of Mr. Craven "When you see a bit of earth you want,. . . take it, and make it come alive.” - Tracy Hankwitz BGC General Manager & Horticulturist 3/6/2018 2 Comments Growing WildflowersHave you ever heard a garden hum? One that not only hums but is full of movement - alive with butterflies and buzzing bees? Plant a bit of earth with wildflowers and you will have such a garden. But two questions may come to mind: 'why?' and 'how?' Hopefully the 'why' is obvious as they attract pollinators into the garden which help plants, especially fruits and vegetables, grow better which means more food on the table. And the 'how'? The easiest way to begin is with seeds. Following are several wildflower seed mixes that are available here at BGC. We love these mixes from Olds Seed not only because of the colorful combinations of flowers and native grasses, but they contain no fillers or inert ingredients. It's pure seed! I've also included a few tips on growing them successfully as well as a challenge for all of us to consider.
Basic Steps to Growing Wildflowers 1. Decide what to plant If you want color the first year, choose a mix that contains annual flower varieties. Perennials will bloom the second year from seed. For lots of color, sow the heavier recommended amount. 2. Where and when will you plant? Most wildflower seed mixes require a site that receives at least six hours of sun. Sow in spring when the soil has warmed - mid to late May and into early June. 3. Clean and prep your site Remove existing vegetation, then till shallow or loosen soil with a rake or hoe for good seed-soil contact. On sloped areas use a mat for erosion control. 4. Sowing tips It is best to sow wildflower seeds with a carrier like sand. Milorganite works even better! Mix approximately one handful of seed with one quart of carrier. Lightly rake the seed in not covering more than 1/8" to 1/4". Keep area moist for several weeks until most seeds germinate. 5. First year care Seedlings will emerge in 2-3 weeks. You'll see flowers in 6-10 weeks. If it has become a weed patch by mid-summer, mow with the deck set at the highest setting before weeds set seed. During dry spells, water deeply every two weeks. After the flowers have set seed in the fall, mow at 4-6" to scatter the seed. Do this only the first fall. 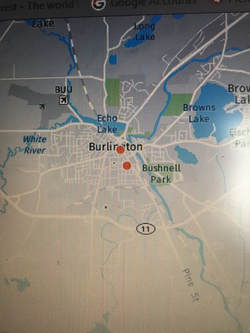 Are you up for a challenge? Be part of a movement to create one million pollinator gardens. To the left is a photo of the number that have registered in Burlington. Two! Come on, everyone! We can do better than that! Join our staff and follow the link below to take the challenge and bee one in a million! millionpollinatorgardens.org/ Be sure to pick up a free brochure with more planting tips next time you visit us at BGC. See you soon! Tracy Hankwitz Burlington Garden Center General Manager & Horticulturist |
|
|
STORE INFO
5205 Mormon Road Burlington, WI 53105 262.763.2153 |

