|
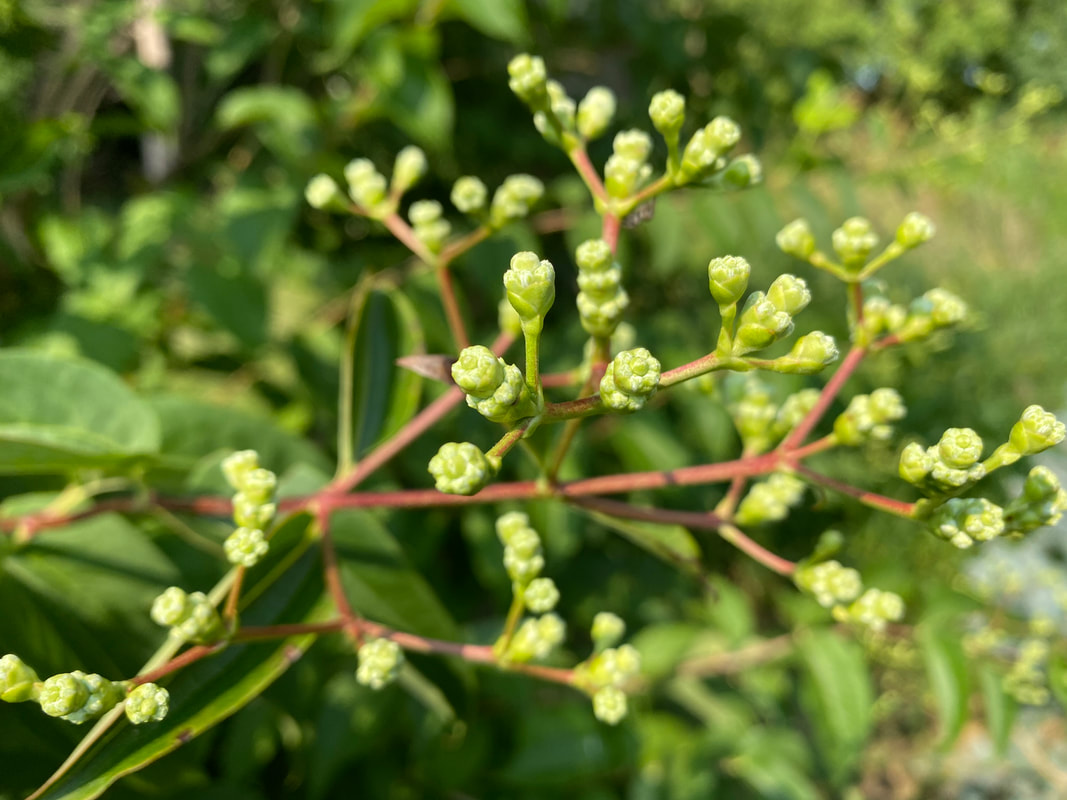
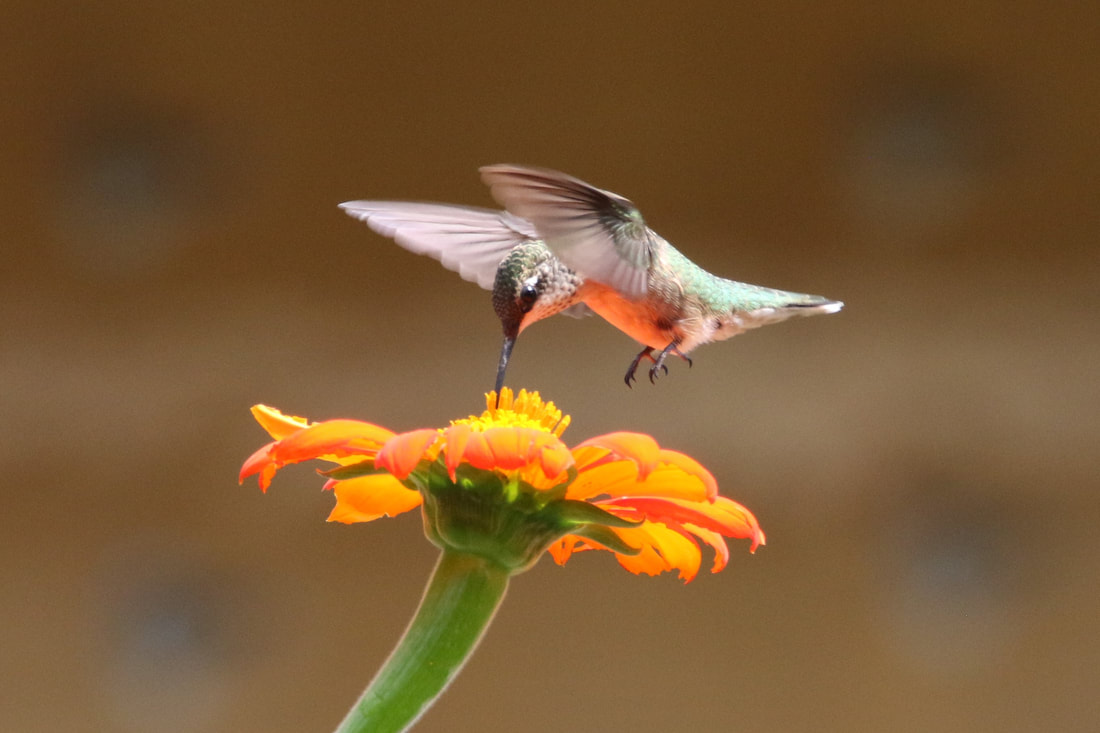
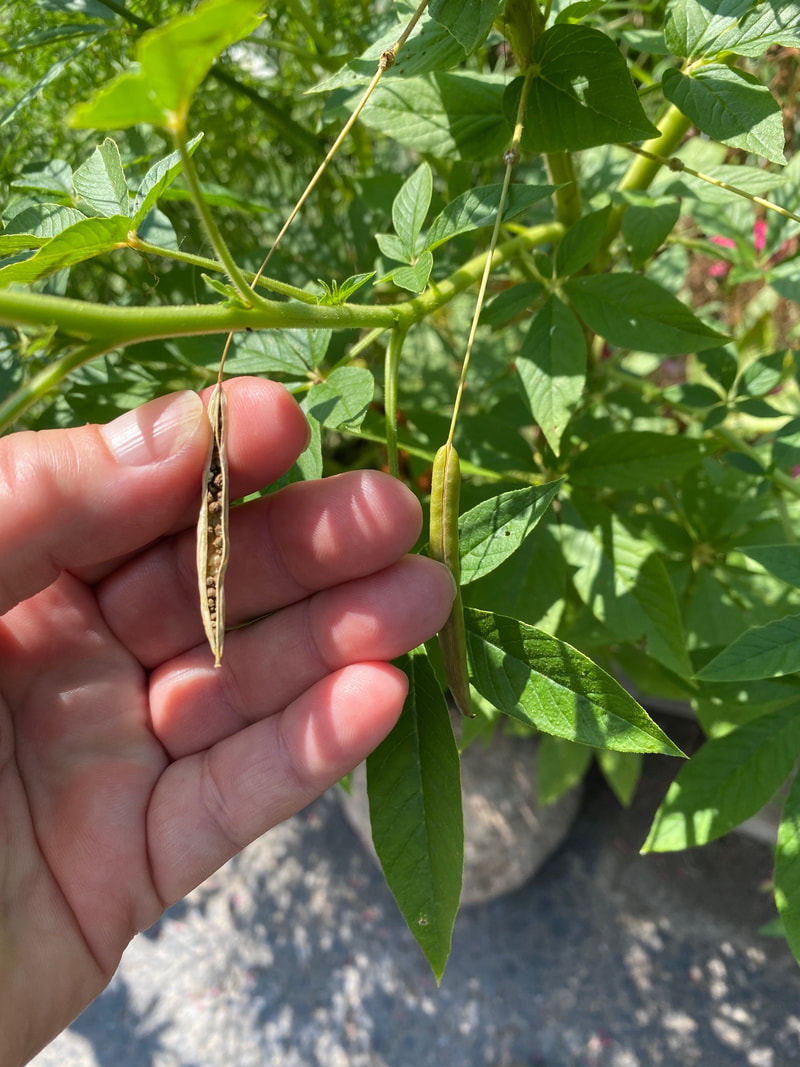
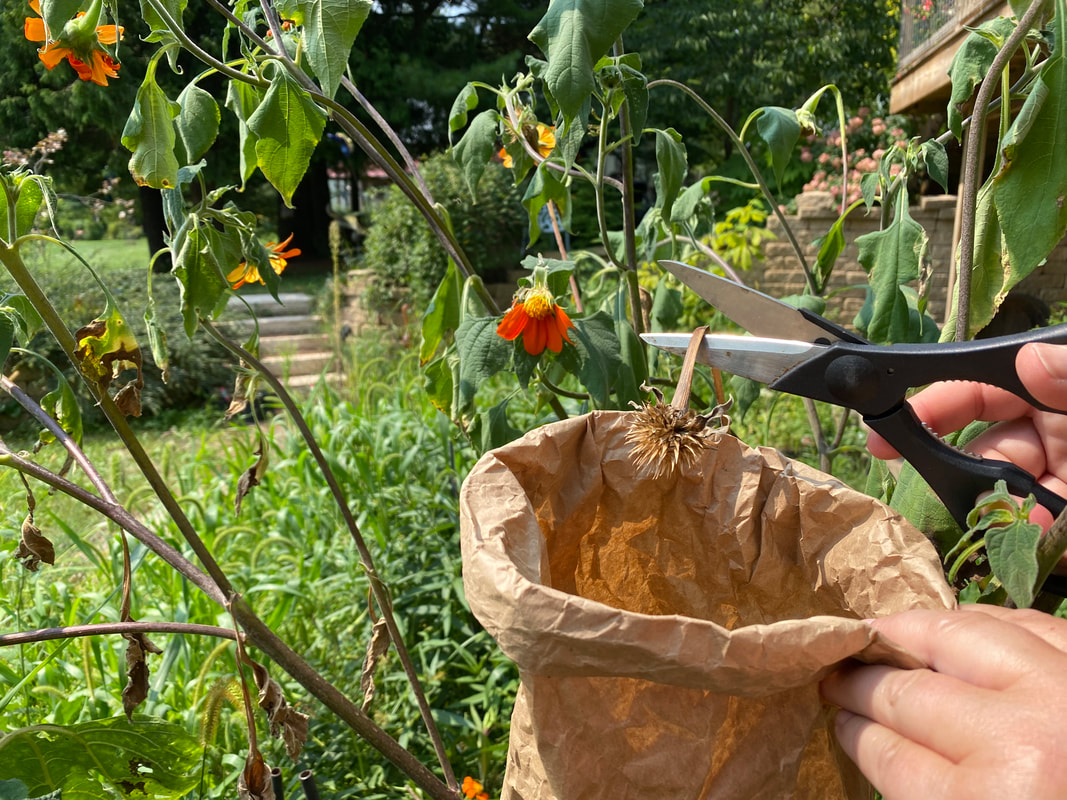
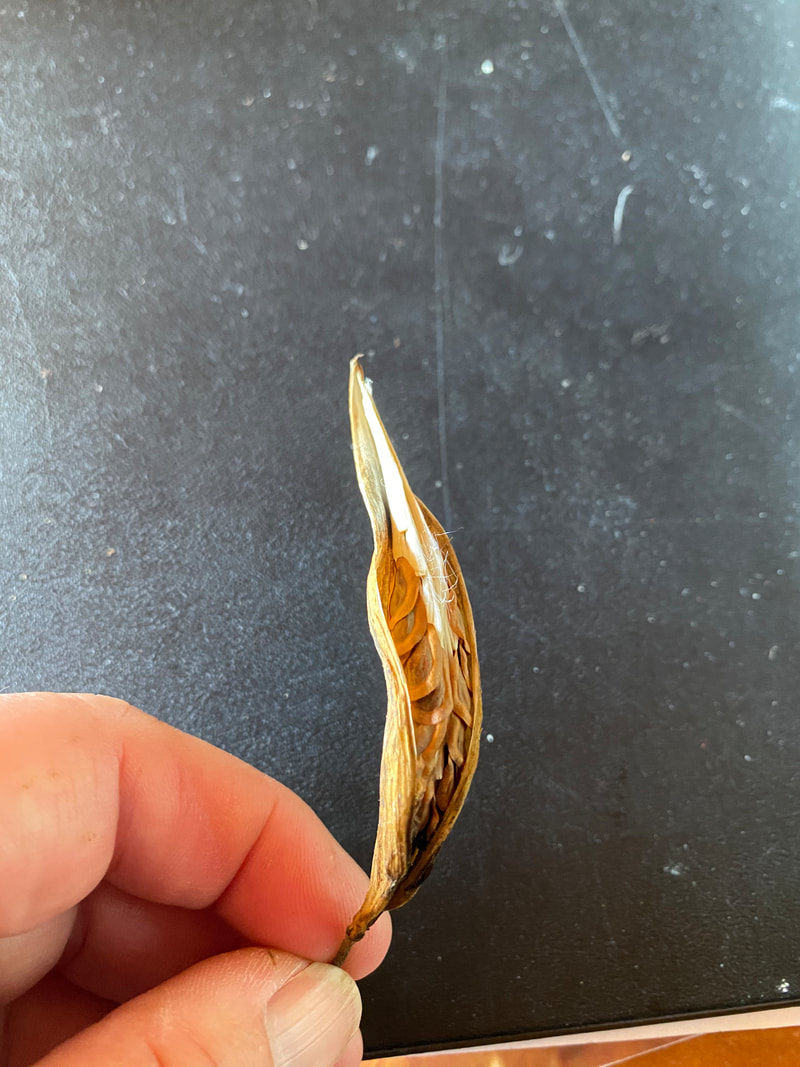
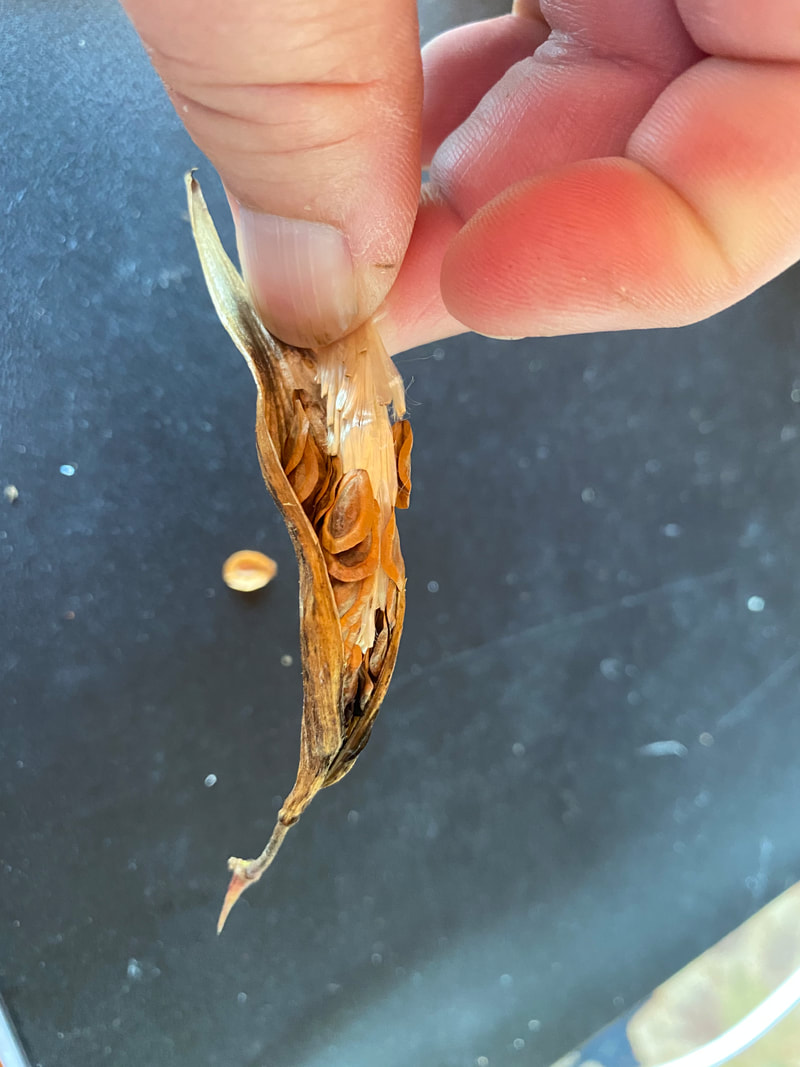
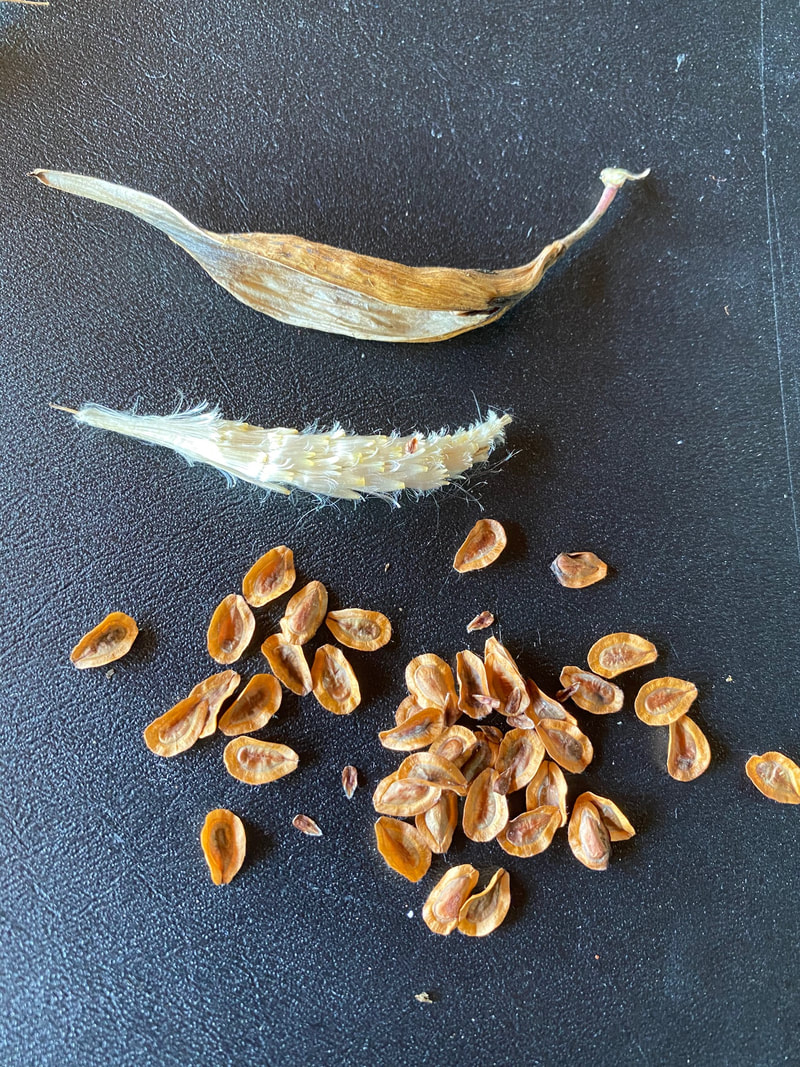
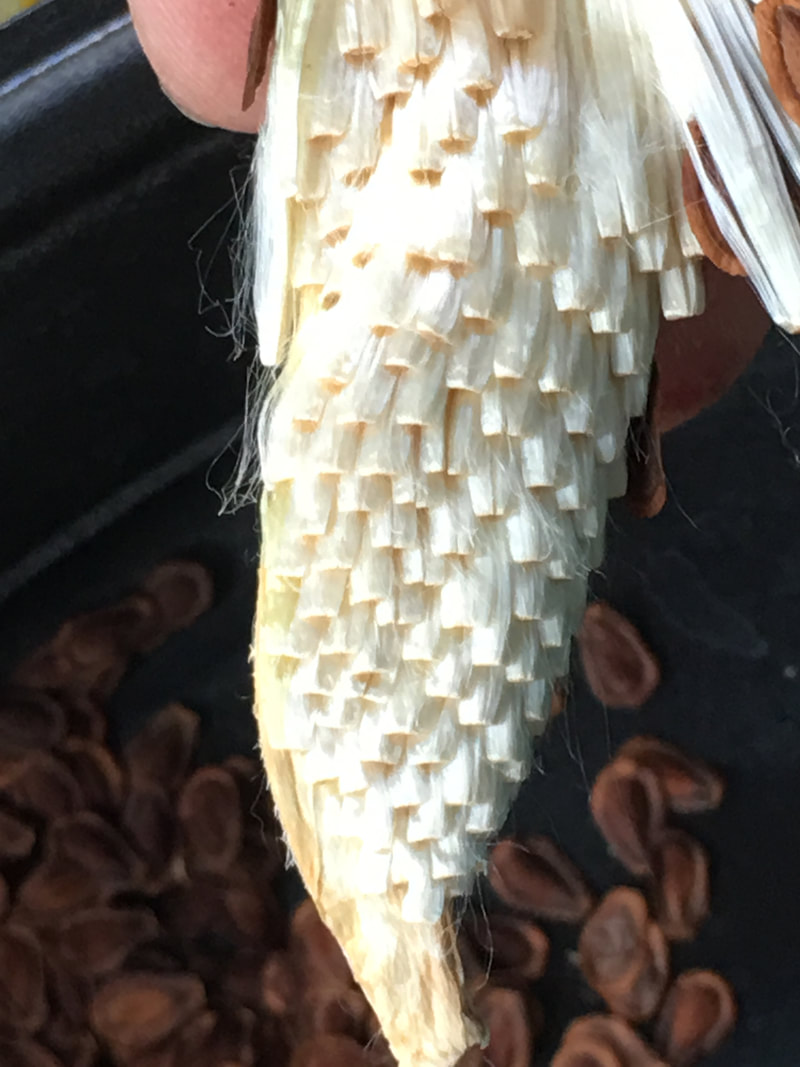
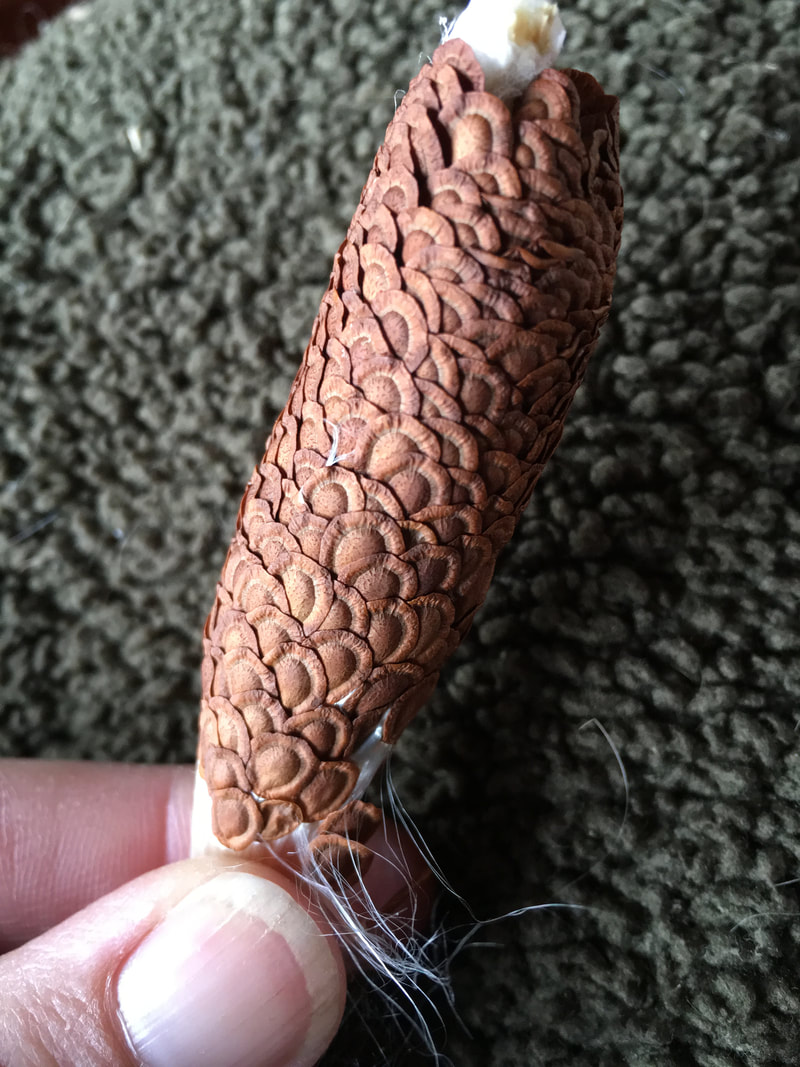
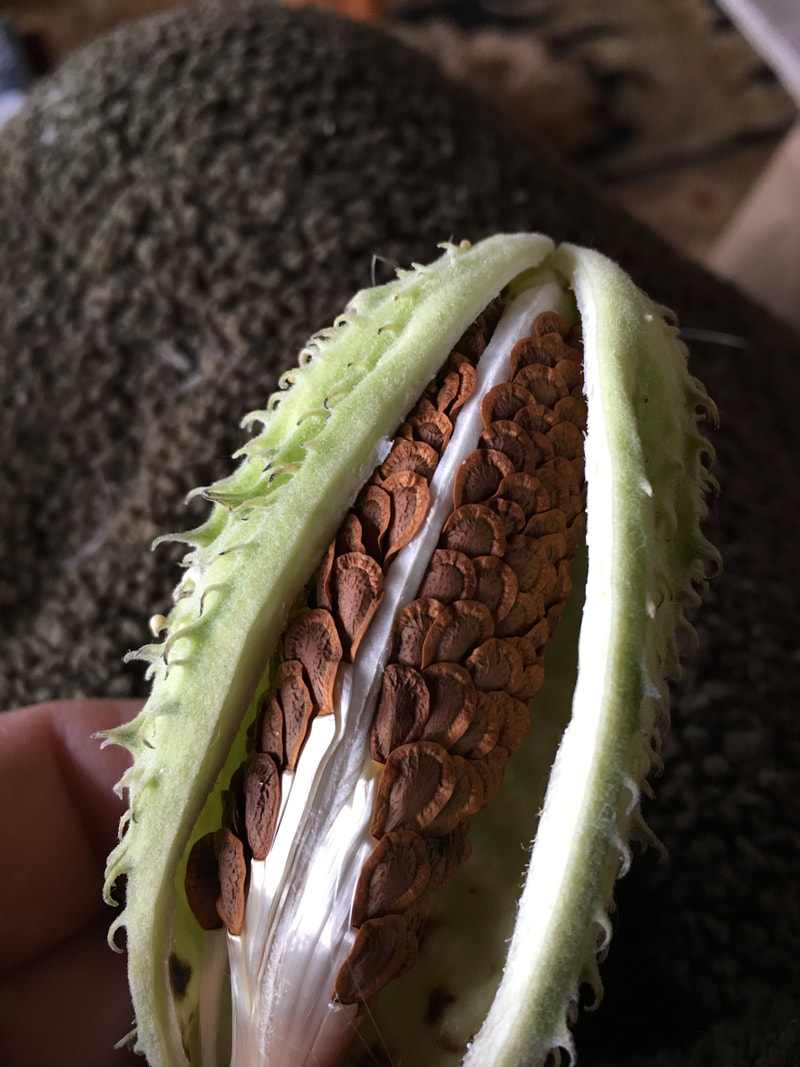
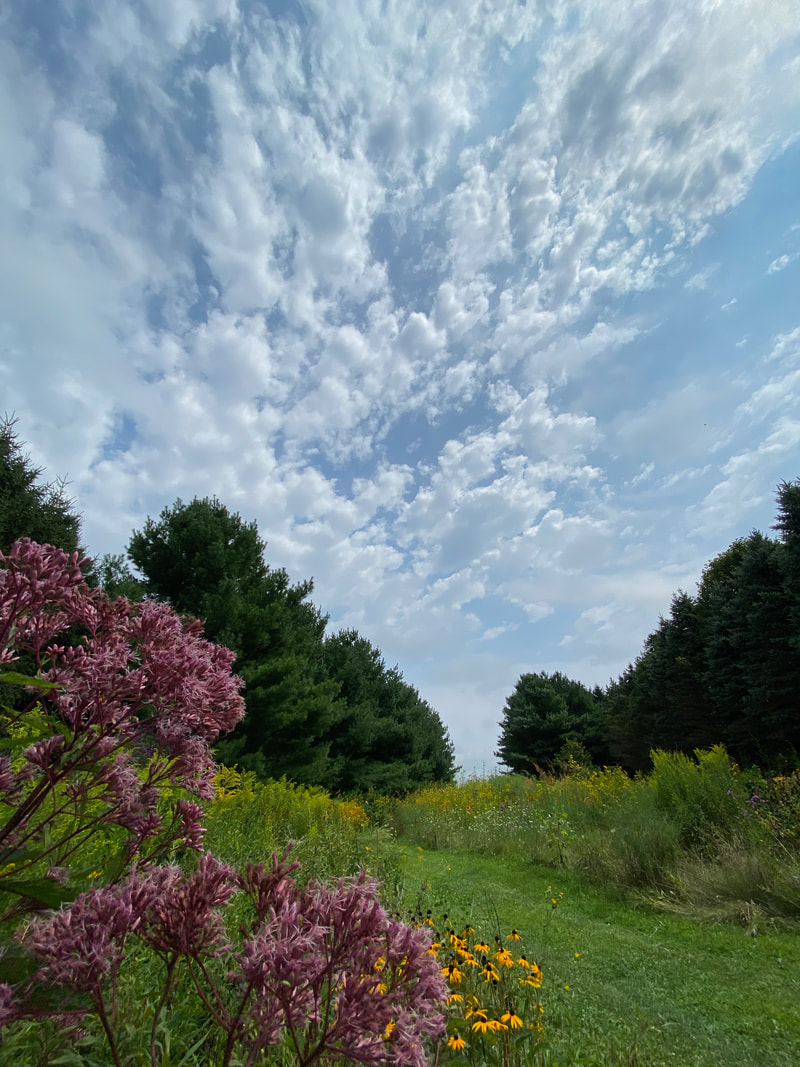
This time of year is a little sad to me. The sun is setting significantly sooner, some trees and shrubs have long since stopped blooming and all the bird houses are empty as of today. The last tenants have evicted themselves. So I try to look on the bright side and now find myself a little giddy about all that is still going on. Tomatoes are roasting in the oven, garlic is cured and ready to use, red bell peppers, zucchini and all good things are overflowing. The other thing I look forward to is the blooming of the Seven Son tree or Heptacodium. It is a butterfly and bee magnet. My Seven Sons are ripe with full unopened blooms and now the wait is on for the first fragrant blossoms to open. I also enjoy the ninja hummingbird activity going on at the annuals on our deck and feeders. Hummers will chase anything! Another magnet that is starting to bloom is goldenrod. There are several versions of this and honestly I have no idea what variety I have. It showed up one day and has been a bit of a nuisance to manage, but I would not want to be without it. Again, bees all over it of all type and size. The other activity I enjoy at this time of year is seed saving. It typically starts with a tomato if I ate one I particularly love. I somehow feel a little wise that I have seeds on hand for next year. Out on the prairie, I really count on the wind and the goldfinches to disperse seed. Of prairie plants that I would like more of, I will collect the seeds to try to fill in barren spots. This could just mean cutting off a dried head of Echinacea (coneflower) and shaking it in a barren spot or gently rubbing two coneflower heads together to dislodge seeds. But if I want to be assured, I will pull a few weeds, come in contact with the soil and put a few of it’s seeds barely under the soil. Enough to hide it from hungry birds and to help propagation along. And myself of course, because it will grow where I want it. There are a few seeds that I must harvest to be sure I have the plant the following year. Some of these are annuals, like castor bean, Cleome and Tithonia. And the best of all is the perennial milkweed, any and all varieties. Let’s start first with a general idea of any seed saving. Whether it is from annual or perennial, you want the healthiest specimen. You do not want to take seeds from a plant that was barely producing, was weak stemmed, had washed out color or was not prolific. You want to take from the best of the best. Once you have the plant picked out, you have to wait until the plant has started to die back or a flower head that has died back. In the case of Echinacea (coneflower), even with bird activity, I can find a few that aren’t fully missing their seed. It is easy to look at the top of the plant to see if seeds remain or not. You can always place some lightweight gauze bag or something similar over the seed head so that birds do not get it before you do. Cleome is just kind of fun to take the seed from. As the flower grows taller, it leaves a pod behind. You do not want green pods but you may want to identify healthy green pods that you want to come back to later when they are ready to take. You want to take seeds from the brown ones that are just starting to split. I don’t even take the pod off, I just rake my finger over the pod and pop them into an envelope. If I know where I want some next year, I will scatter some in the area and then save the rest to scatter in the early spring. Cleome is an annual but if it drops it’s seeds, it can reseed itself with a reasonable winter. Tithonia can not survive a hard freeze, and I am not sure about it’s seeds other than they can not survive our winters. So I like to get outside while the weather is pleasant and start collecting some of the dead heads, in other words, not this 90 degree (!) week. I see plenty of hummers and insects coming to Tithonia for pollen and nectar, but not for seeds...that I can recall. So I will watch for it this year. Tithonia isn’t easy to extract the seed from. It is a bit prickly to touch.When the head is dried and usually crumpled over, I go by with scissors or pruner and snip the flower heads off into a paper bag. I don’t bother handling them. I leave them in a sunny dry space for a while and then move them inside for winter and keep them in a cool dry location like a basement. Every so often, I will go by and shake the bag. This separates the seed from the flower, and then I have easy-to-handle-seeds to plant after discarding the flower structure. This is a plant I always start inside and transplant to the outside when the ground is nice and warm. Because it is more of a late season plant, I try to give it a head start. You can always buy it already growing at BGC. There are times when I just can not coordinate myself to start seed and this COVID year was one of them. So luckily, I know I can get it at work and am sometimes the person that gets to water and tend to some of my favorites. Milkweed is a different story of sorts. It is trickier. You can treat it like Tithonia where you put the pod in a bag and shake it, but that is going to be a lot of shaking and a lot of fluff to float out at you once you do! I want a fluff-less home! I have set off the fluff in the house before and regretted it, so, I have a foolproof OCD-lovin’ way to separate seed from the fluff. First, you have to be sure you get the pod in the right state of readiness for picking, but not ready for free flying seed! You want to collect pods off plants when they have started turning brown and when they just start to open at their ‘seam’. To keep them in this state and not get fluffed, you can put a loose rubber band or tie a string around it. I do not bother doing either of those, but if you aren’t going to get to them for a few weeks, you will want to do so. I am so quick at separating the seed now, that it is a quick clean job when I bring a pod into the house. First, get paper bags and/or containers and label them with the seed type. I collect mostly Common, Swamp, Whorled and butterfly weed. I label paper bags to drop only those pods into each bag and bring them home. Be aware that Common milkweed pods look much larger than any of the other milkweed pods but the seeds themselves look about identical to the others. So bag and container labels are a must! Then I take old restaurant take-out delivery containers to prepare to put the seeds into. I collect a lot! Envelopes or paper bags work if you are doing just a few. All the milkweeds basically operate the same way:
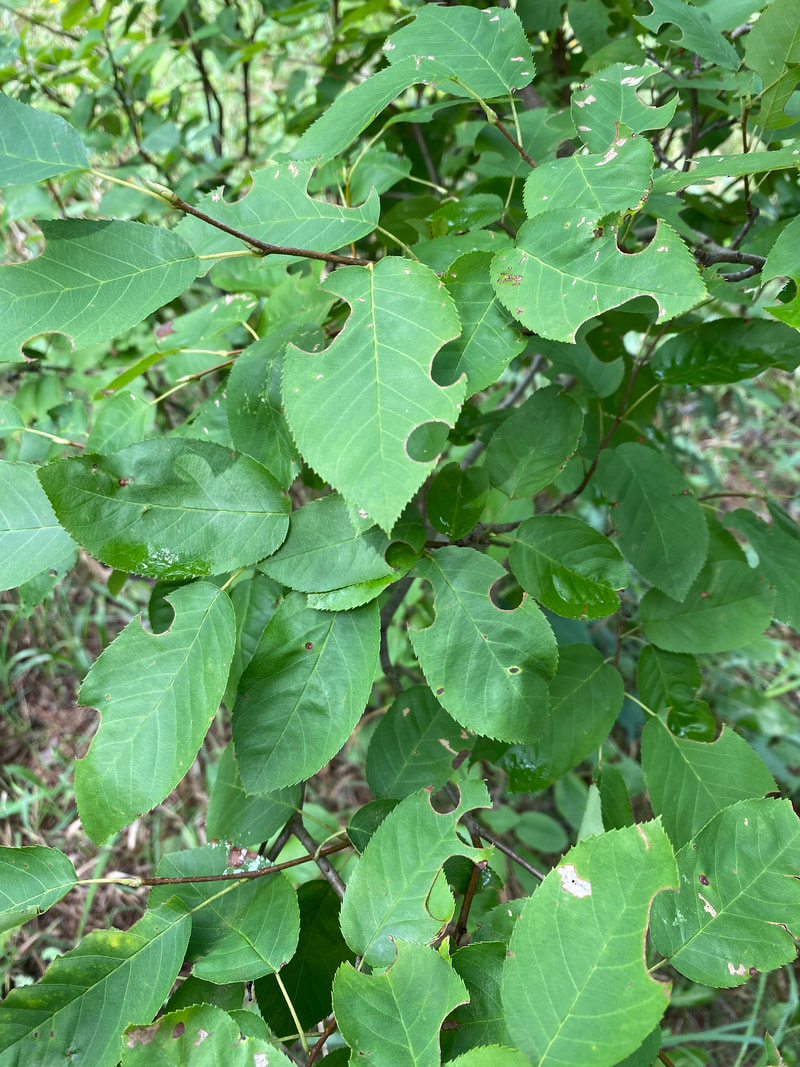
If you have, don’t think something bad is happening. It is a good thing. Somewhere likely nearby, in a dead stem of a plant or dead section of a tree limb, a leafcutter bee has stored it’s eggs for next season's pollinators. These little circles of leaves is what separates one egg/larva chamber from the next. Like a little studio apartments for bees! Try to NOT be too tidy cleaning up your yard. Leave some dead items around because they likely harbor good things like bees for next year. And remember, if you are going to use any type of weed killer or insecticide, remember they kill good insects as well as pests, so use very sparingly. You will make these beekeepers very very happy. And if someone gives you a hard time about leaving dead stems or limbs around, tell them you are providing habitats for birds and insects and if they don’t like it to come see me!! If you have planted any of the items we have discussed over the last four blog postings, let us know about it. What did you plant and why did you choose that particular plant? I hope you had a great, err, reasonably good summer in this strangest of summers. Remember, contact with the earth always makes you feel more grounded, is good for you body and soul, and helps you to stay planted. Beth Martin is a BGC employee, Master Gardener, Master Composter, and Naturalist.
6 Comments
8/29/2020 06:39:04 am
Thanks for the tips on collecting milkweed seeds. I have been growing them in my yard to help the monarchs For several years. They are getting a bit too successful (We may need to get some swamp milkweed instead of just common milkweed). I am wondering if milkweed will grow from the previous year’s roots or is it only from the seeds? We want some milkweed next year but do not want it to takeover the perennial beds. I am trying to figure out how much seeding to do without inviting a full milkweed invasion of other plants.
Reply
Beth Martin
8/30/2020 07:09:08 pm
Hi Marianne
Reply
10/27/2020 06:43:58 am
Hey thanks for posting this useful information about observations from a pollinators garden part 4 seed saving here, I really hope it will be helpful to many. It will help a lot; these types of content should get appreciated. I will bookmark your site; I hope to read more such informative contents in future. Appreciative content!
Reply
3/5/2024 11:10:32 pm
I like your article, it is very interesting. Looking forward for more article like this!
Reply
Leave a Reply. |
|
|
STORE INFO
5205 Mormon Road Burlington, WI 53105 262.763.2153 |

